Table of Contents
A chat widget is a tool on websites or apps that allows users to engage in live conversations with customer support or sales teams. It typically appears as a chat bubble and enables real-time interaction directly on the site. Follow these steps to create and customize your floating chat widget:
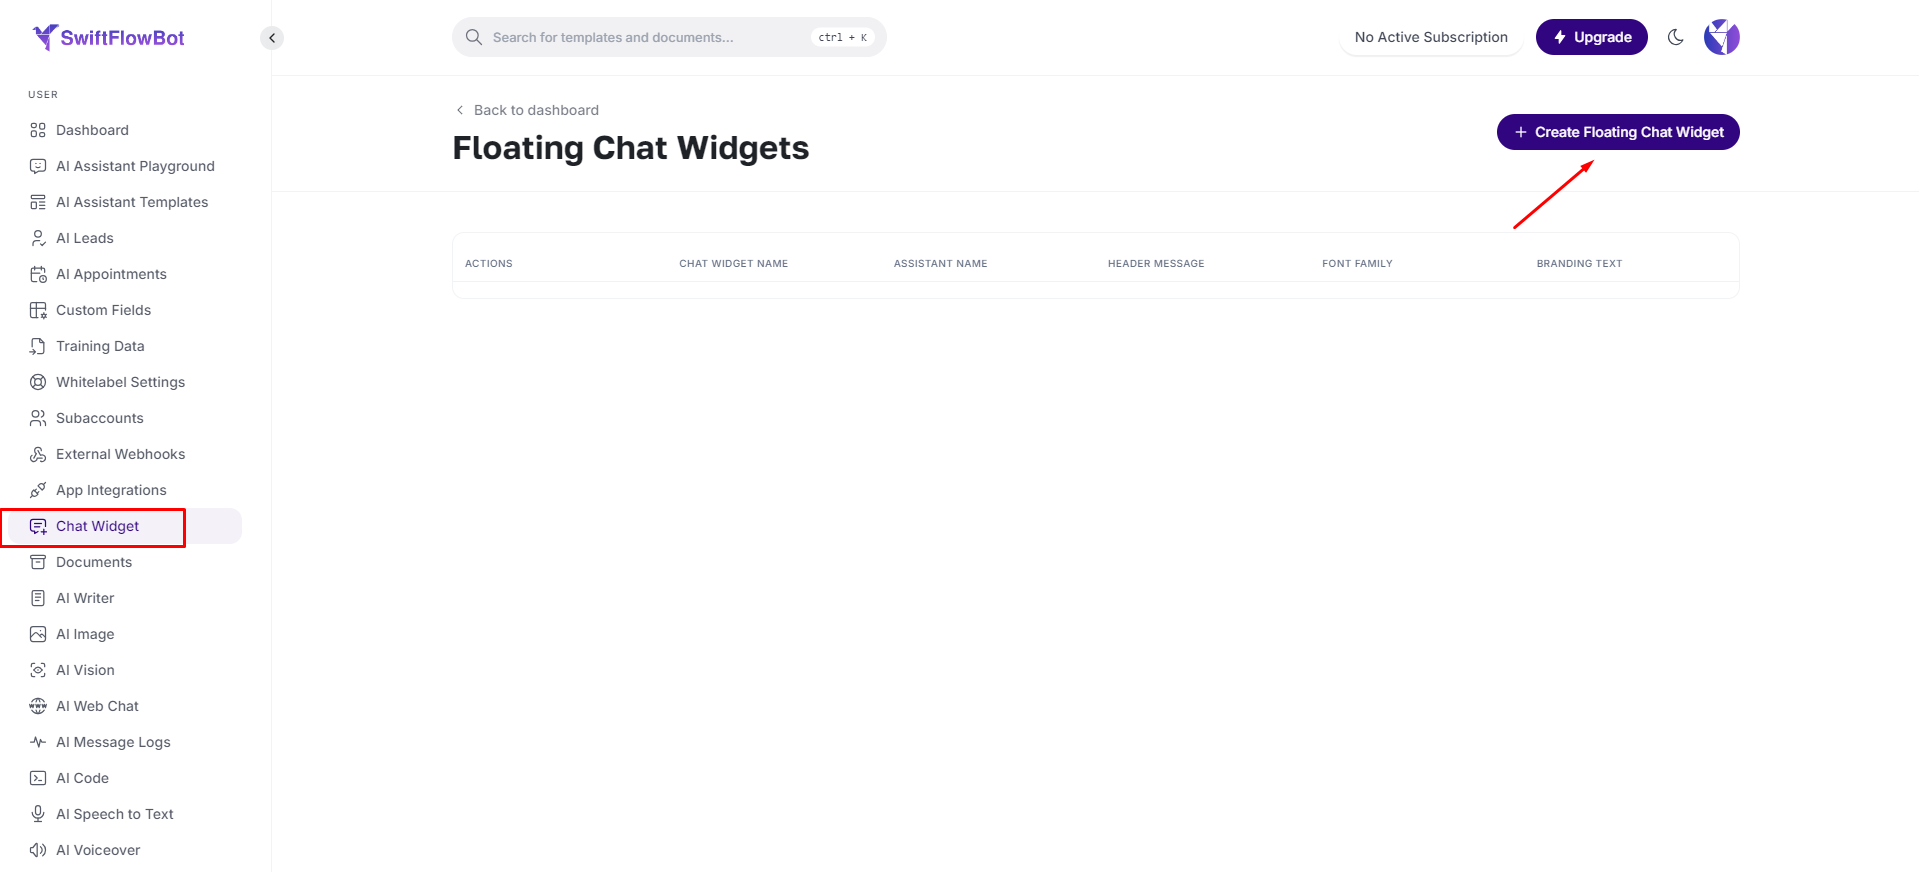
Step 1: Select the Chat Widget #
- Navigate to the Chat Widget section in your dashboard.
Step 2: Click on Create Floating Chat Widget #
- Click on Create Floating Chat Widget to start the setup process.
Step 3: Set Up Your Chat Widget Settings #
- Chat Widget Name: Enter a name for your chat widget.
- Select Assistant: Choose the assistant that will handle the chat interactions.
- Status: Set the widget status to either active or inactive.
Step 4: Customize the Chat Widget Bubble Button #
- Bubble Icon Color: Select the color for the bubble icon.
- Bubble Background Color: Choose the background color for the bubble.
- Bubble Text: Enter the text that will appear in the bubble.
- Bubble Position: Select the position of the bubble on the screen.
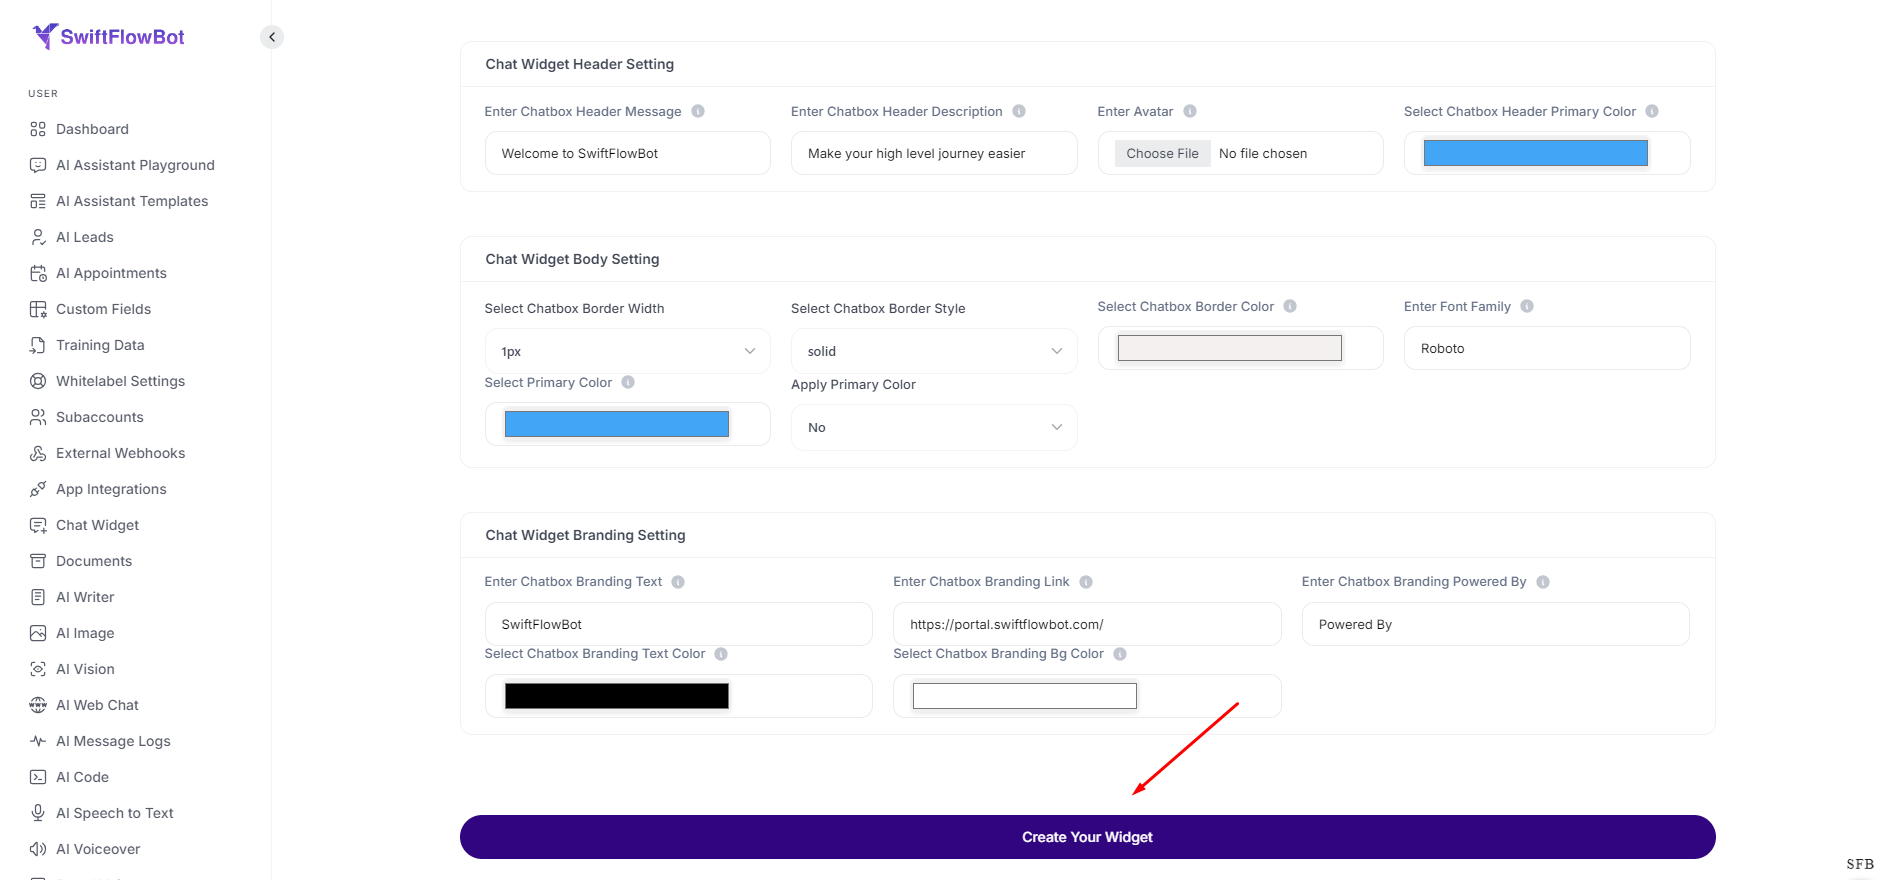
Step 5: Configure the Chat Widget Header and Body #
- Chatbox Header Message: Enter the message that will appear in the chatbox header.
- Chatbox Header Description: Provide a description for the chatbox header.
- Font Family: Choose the font family for the text in the chatbox.
Step 6: Set Up Chat Widget Branding #
- Chatbox Branding Text: Enter the branding text for the chatbox.
- Chatbox Branding Link: Provide the branding link.
Finalize Your Customizations #
- Once you’ve made all your customizations, click Create to apply your changes and activate your chat widget.